|
|
 | Wednesday, July 29, 2026 |
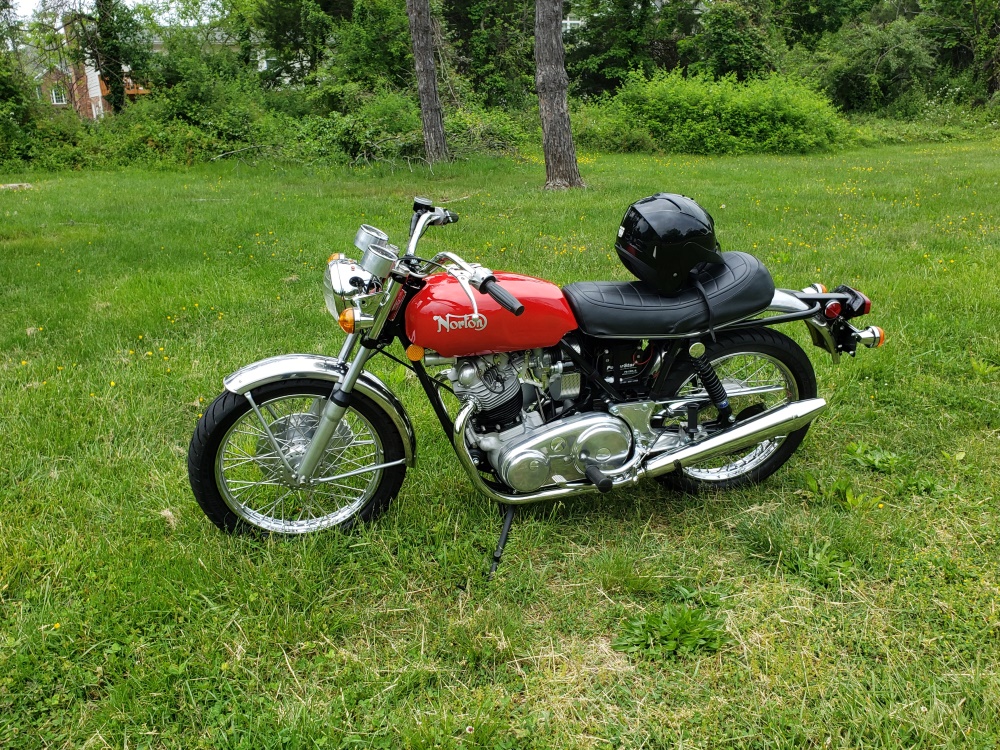
In June 2021 I was contacted by a guy who wanted me to build him a 1972 Norton Commando Combat. Later, he also wanted a 69S I had. Those were both done in March 2023 but I have not been able to contract him. They were both documented in this one article.
October 18, 2023 Today, I agreed with a new buyer for the Combat. He wants several upgrades. Rather than continue writing here I'm separating the original article into two. Especially at the end they were mixed so it's big task to separate them. Here is what they look like today.
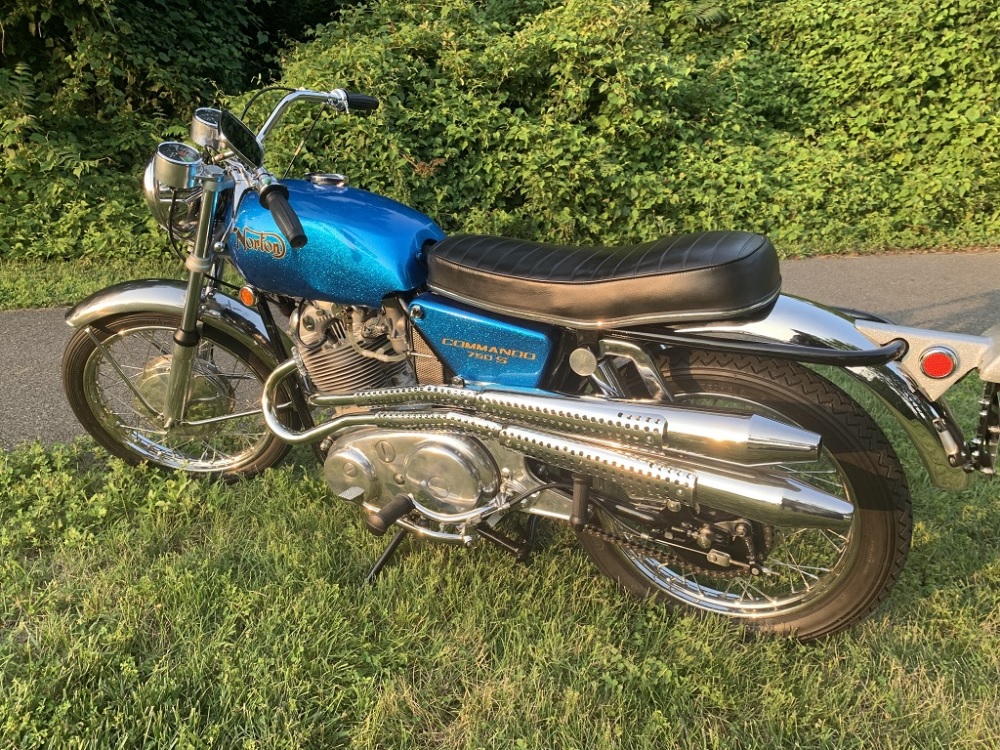
The new Combat page is here.
The new 69s page is here.
|